
It took me a bit of effort to get the Autogrid feature in WSJT-X running, but thanks to the work of N9ADG, Brian Moran , all the hard stuff was already put together on GitHub.
For others interested in this feature, here is the process.
But before you get going, let me preface this with the fact that I do not know scripting. I just hammer my way through things like this with a lot of trial and error. You may find much better and logical ways to do this.
- Download and Install Python https://www.python.org/downloads/
- Add Python to PATH https://datatofish.com/add-python-to-windows-path/
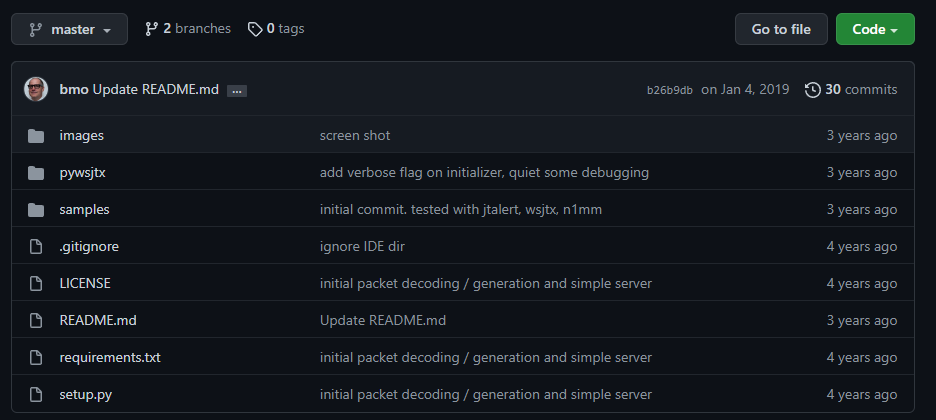
- Download needed files from https://github.com/bmo/py-wsjtx
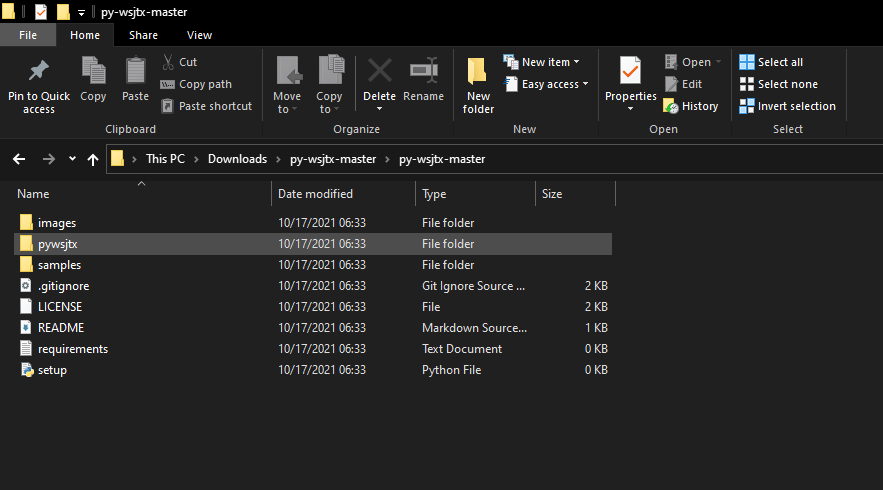
- Extract Files
- In the extracted files copy the folder labeled ‘samples‘ and paste it into the ‘pywsjtx‘ folder.
- Then copy the ‘pywsjtx‘ folder and paste it into the ‘Lib‘ folder of your python installation
Now that all the files are where they need to be, a few of the scripts must be modified to match up with your WSJT-X port settings and GPS settings.
Set up WSJT-X UDP for multicast
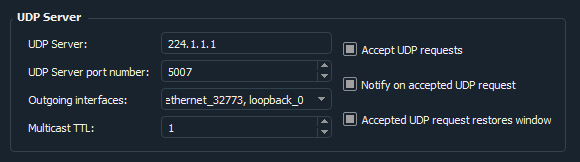
- Set as above and be sure to check both boxes in the “Outgoing interfaces” drop-down.
Set up communication in ‘grid_from_gps.py’
Next you need to modify the file ‘grid_from_gps.py‘ so that you can read NMEA sentences from your GPS and UDP packets from WSJT-X.
From the ‘samples‘ folder make the following edits to ‘grid_from_gps.py‘ (use your preferred editor, I use Visual Studio Code .)

- At Line 21 set the COM port to match that of your GPS (My GPS was running on COM5)
- At Line 22 set to match the Multicast IP Address in WSJT-X
- At Line 23 set to match the UDP Port in WSJT-X

- At Line 143 look for ‘9600’ and change it to match the baud rate of your GPS. (4800)
- Save changes to ‘grid_from_gps.py‘
Running Autogrid
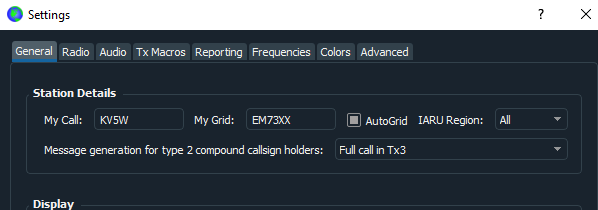
If all went well, you should be able to run WSJT-X and set your gridsquare in the settings to a grid different than the grid you are in and check the box to enable Autogrid. Save settings.

- Run ‘grid_from_gps.py‘ by opening a command prompt, change the directory to where the file is located and then type “python grid_from_gps.py” .
- Hit Enter.
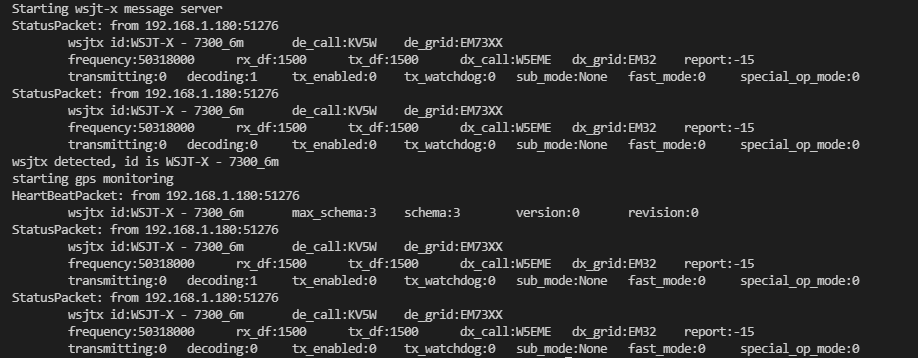
You should start to see UDP packets read from WSJT-X along with data from your GPS.
If everything is set up properly, you should see that your TX6 message in WSJT-X has changed to the gridsquare you are actually in.
In my case I could see the WSJT-X packets but nothing was coming in from the GPS.
These scripts are set up to read position information from NMEA sentences produced from the GPS andare specifically looking for the NMEA sentence that starts with “$GPGLL”.
While working through all this I discovered that my GPS was not producing $GPGLL sentences but it was producing $GPGGA sentences that provided position data as well. If you run into the same issue you should try the next couple of modifications to the scripts.
Modify scripts to read $GPGGA instead of $GPGLL

- In the file ‘grid_from_gps.py‘ change line 37 from ‘$GPGLL’ to ‘$GPGGA’
Since the NMEA sentence pattern for $GPGLL and $GPGGA differ, you will also need to modify the script that reads the sentence and extracts the position data.
Example of $GPGLL sentence : $GPGLL, 3723.2475, N, 12158.3416, W, 161229.487, A, A*41
Example of $GPGGA sentence: $GPGGA, 161229.487, 3723.2475, N, 12158.3416, W, 1, 07, 1.0, 9.0, M, , , , 0000*18
To read and properly extract position data from $GPGGA sentences:
- From the folder titled ‘extra‘ , edit the file ‘latlong_to_grid_square.py‘ in your editor.

- At line 71 change ‘$GPGLL’ to ‘$GPGGA’
- At Line 73 change ‘A’ to ‘1’
- At Line 75 change the components value from [0] to [1] and from [1] to [2] respectively
- At Line 76 change the components value from [2] to [3] and from [3] to [4] respectively
- Save changes to ‘latlong_to_grid_square.py‘
- Run ‘grid_from_gps.py‘ again.
If everything is correct you should now be reading the WSJT-X packets as well as GPS $GPGGA sentences and if you have “Autogrid” enabled in WSJT-X your TX6 message will update to your current gridsquare determined by your GPS position.